I clearly remember standing in the aisle of my local fish store in 2018, holding a pack of ten branded root tabs that cost $12.99. I did the math. My 75-gallon heavy-planting project would require about 40 tabs to start, and replacements every three months. That was roughly $200 a year just for dirt-delivery systems.
I put them back on the shelf.
There had to be a better way. That afternoon, I bought a 4.5lb bottle of Osmocote Plus Outdoor & Indoor Smart-Release Plant Food and a bag of Size 00 gel capsules for a combined total of $25. Six years and thousands of tabs later, I’m still using that same bottle.
But here’s the thing.
If you just dump terrestrial fertilizer into your tank without understanding the release mechanism, you aren’t fertilizing plants. You are building a time-delayed algae bomb. I learned this the hard way when my 20-gallon long turned into green pea soup three weeks after my first “experiment.”
Here is exactly how to make DIY root tabs safely, the science behind why they work, and the one placement rule you cannot ignore.
What Are DIY Osmocote Root Tabs? (The Short Answer)
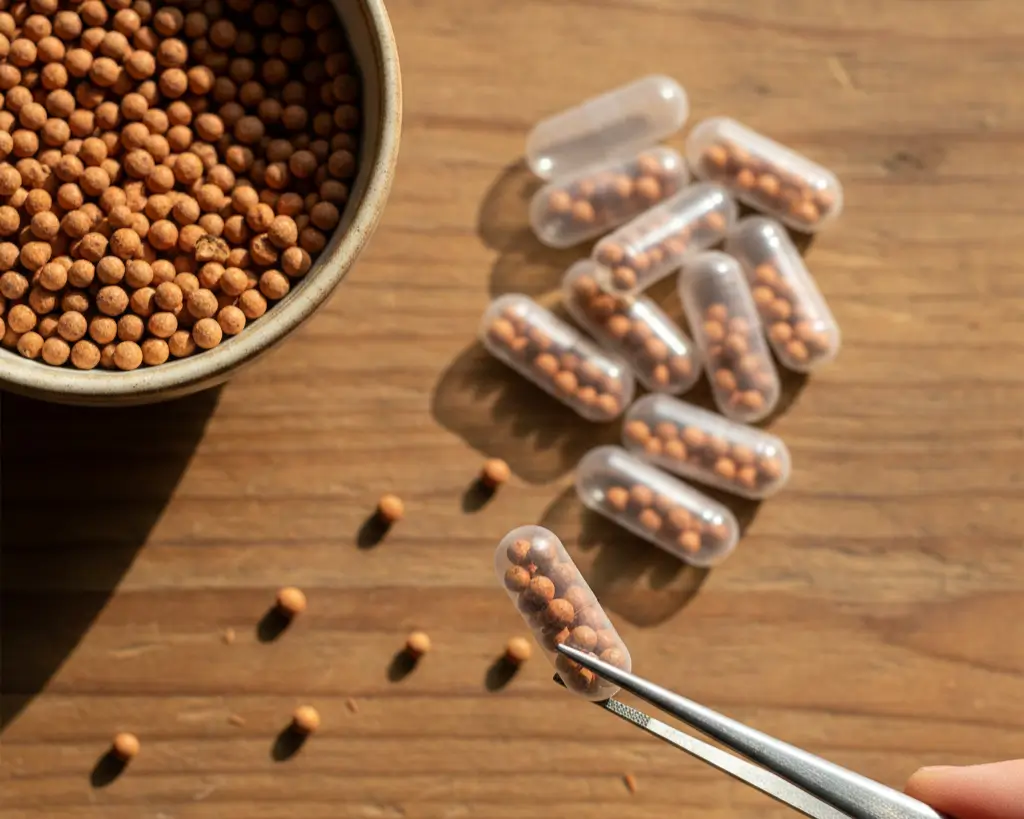
DIY Osmocote Root Tabs are homemade aquarium fertilizers created by filling empty gelatin capsules (usually Size 00) with Osmocote Plus pellets.
- The Concept: The gelatin dissolves underwater in 15-60 minutes, burying a cluster of slow-release fertilizer prills deep in the substrate.
- The Benefit: Costs approximately $0.03 per tab compared to $1.00+ per tab for aquarium brands.
- Safety: Safe for fish and invertebrates if buried at least 2 inches deep to prevent water column leaching.
- Longevity: Lasts 4-6 months depending on water temperature.
Source: Michigan State University Extension (Controlled Release Fertilizer dynamics, 2016).
The Economics: Why I Stopped Buying Branded Tabs
I love supporting aquarium companies. Really, I do. But when the markup hits 3,000%, I draw the line.
When I set up my first high-tech tank, I realized that nutrient delivery is the silent budget killer. You budget for the light, the filter, and the tank, but nobody tells you about the recurring cost of consumables. This is especially true if you are keeping heavy root feeders like Cryptocoryne Wendtii or massive Amazon Swords (which, while a floater, acts similarly in nutrient uptake speed).
Here is the breakdown from my logbook in early 2024.
COMMERCIAL VS. DIY: REAL COST ANALYSIS
| Factor | Seachem Flourish Tabs | API Root Tabs | DIY Osmocote Plus |
| Price | ~$11.00 | ~$9.00 | ~$25.00 (Total Setup) |
| Quantity | 10 Tabs | 10 Tabs | ~1,500 Tabs |
| Cost Per Tab | $1.10 | $0.90 | $0.016 |
| Duration | 3-4 Months | 1 Month | 4-6 Months |
| My Annual Cost | $132.00 | $324.00 | $0.64 |
“I ran the Seachem tabs in a 20-gallon and the DIY tabs in a 29-gallon simultaneously. While the Seachem tabs dissolved cleaner, the growth on my Vallisneria was actually faster with the Osmocote, likely due to the higher NPK percentages.”
Choose Commercial Tabs if: You have a <10 gallon tank or hate DIY.
Choose DIY Osmocote if: You have multiple tanks, large heavy feeders, or a budget.
The “Copper Kills Shrimp” Myth (And Why It Persists)
We need to address the elephant in the room. Or rather, the dead shrimp in the room.
If you search forums, you will find people screaming that Osmocote Plus contains copper and will wipe out your invertebrate colonies. I used to believe this too. I avoided using these tabs in my Red Cherry Shrimp breeding tank for two years because of this fear.
Then I actually looked at the label.
MYTH: “Osmocote Plus contains copper and will kill your shrimp and snails.”
REALITY: The copper content is trace (0.05%) and essential for plant enzyme function.
- In a 20-gallon tank, dissolving 5 tabs adds roughly 0.002 ppm of copper.
- Invertebrates typically stress at copper levels above 0.03 ppm (variable by species).
- I have maintained a colony of 300+ Neocaridina in a tank with 15 Osmocote tabs buried in the substrate for three years. Zero mass die-offs.
People often confuse “terrestrial fertilizer” with “pesticide.” Some fertilizers do have pest control additives, you must avoid those. But pure Osmocote Plus is strictly nutrient-based. Also, if a shrimp dies, people look for a scapegoat, and the “weird garden balls” are an easy target.
Focus on buying the correct bottle. You want Osmocote Plus Outdoor & Indoor. Do not buy anything labeled “Weed & Feed” or with added pesticides.
How To Make Them: The Process
It’s not rocket science, but it is tedious. I usually put on a podcast and knock out 100 of these in 20 minutes.
Materials Needed:
- Osmocote Plus (Must be the “Plus” version, the “Standard” lacks micronutrients like Iron and Magnesium).
- Gelatin Capsules Size 00 (Vegetarian or Bovine works, but standard cheap gelatin dissolves best).
- Tweezers (optional, for placement later).
- A small funnel (or a folded piece of paper).
The Steps:
- Separate the Capsule: Pull the small end off the large end.
- Scoop: Use the large end to scoop the prills (little balls) directly from a bowl.
- Fill: Pack it tight. You want as much nutrient density as possible.
- Cap it: Press the small end back on until you feel a “click.”
- Store: Keep them in a dry, airtight jar. Humidity will melt them before they ever see a tank.
I strongly recommend using a dedicated container for this. Those little orange balls bounce. If you drop them on the carpet, you will be finding them for the next decade.
The Critical “2-Inch Rule” for Placement
This is where I failed in 2018.
I placed my tabs just below the surface of my gravel. Two days later, I did a water change. The siphon disturbed the gravel, the dissolved capsule released the prills, and suddenly I had 50 fertilizer balls floating around my tank, leaching concentrated ammonia directly into the water column.
The result? Black Beard Algae everywhere. It covered my driftwood, my heater, and choked out my slow-growing Anubias.
My Revised Placement Protocol:
- Use Forceps: Don’t use your fingers. You need precision.
- Go Deep: Push the capsule all the way to the bottom glass of the tank.
- Distance: Space them 4-6 inches apart. Do not cluster them.
- Target: Place them strictly under root-heavy plants like Amazon Swords or Cryptocoryne Wendtii. Do not place them under stem plants that feed from the water column (like Hornwort) or epiphytes attached to Spiderwood.
If you have a shallow substrate (less than 1.5 inches), do not use these. You cannot get them deep enough to prevent leaching. Stick to liquid dosing like Seachem Flourish or the EI Dosing Method.
Specifications: What’s Actually Inside?
When you look at the NPK ratio, it looks weird compared to aquarium fertilizers.
SPECIFICATIONS: Osmocote Plus
SCIENTIFIC BREAKDOWN:
NPK Ratio: 15-9-12
Type: Polymer-coated controlled-release prill
Release Trigger: Temperature + Moisture (Osmotic pressure)
NUTRIENT PROFILE:
- Nitrogen (15%): High! Great for leafy growth.
- Phosphate (9%): Essential for root development.
- Potash (12%): Critical for protein synthesis.
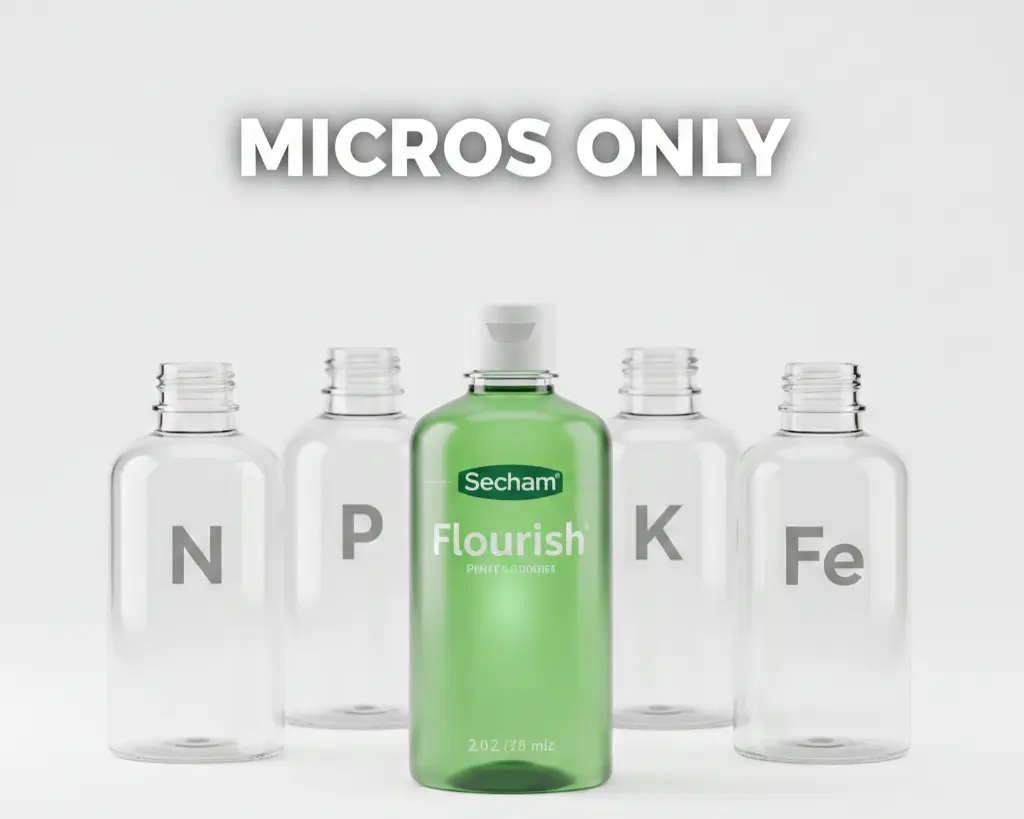
- Micros: Magnesium, Sulfur, Boron, Copper, Iron (Fe), Manganese, Molybdenum, Zinc.
“Most aquarium fertilizers lean leaner on Nitrogen/Phosphate (like 4-1-6) to prevent algae. Osmocote is ‘hot’ (concentrated). This is why burying it is non-negotiable. The substrate acts as a buffer, allowing roots to access the ‘hot’ zone without polluting the water column.”
- Substrate: Sand (Best), Gravel (Good), AquaSoil (Unnecessary).
- Tank Type: Planted (Yes), Cichlid (No – they dig), Goldfish (No – they dig).
SOURCE: Scotts Miracle-Gro Safety Data Sheet (2023)
Troubleshooting: When Things Go Wrong
Even with precautions, things happen.
The “Floating Prill” Issue
Sometimes, a fish digs up a tab. If you see little orange balls on top of your sand, siphon them out immediately. Don’t panic, but don’t leave them. One or two won’t hurt, but twenty will spike your ammonia levels. This is why I verify my parameters with an API Master Test Kit weekly, especially after inserting new tabs.
The “Ammonia Spike”
When you first insert these, there is a tiny, temporary ammonia release as the initial coating softens. In a cycled tank, your biological filter handles this instantly. In a new tank? Wait until your cycle is finished. If you are doing a fish-in cycle (which I don’t recommend), skip these tabs until month three.
The “Uprooting” Disaster
If you need to move a massive sword plant that has been feeding on these, do a deep gravel vac around the roots before pulling. Otherwise, you will pull up a cloud of detritus and half-dissolved fertilizer that can trigger an algae bloom.
Are They Worth It?
After six years of using DIY Osmocote tabs, I’ve saved roughly $800 in fertilizer costs. My Jungle Val grows so fast I have to trim it weekly, and my Crypts are massive.
However, they are messy. They require careful placement. And they aren’t suitable for fish that dig.
If you want a “set it and forget it” solution and don’t mind paying for convenience, buy the branded tabs. But if you are managing multiple tanks on a budget, or just enjoy the DIY aspect of the hobby, these little gelatin capsules are the single best ROI (Return on Investment) in the aquarium world.
Just remember: Deep substrate. Tweezers. And never, ever let them float.