As a turtle owner, you want to provide the best possible habitat for your shelled friend. A clean, healthy tank or enclosure is essential for your turtle’s well-being. However, you may occasionally notice annoying foam in the tank water. Excessive foam can indicate underlying issues that need to be addressed. In this article, we’ll dive into the common causes of foam in turtle tanks and the best solutions for keeping that bubbly buildup at bay.
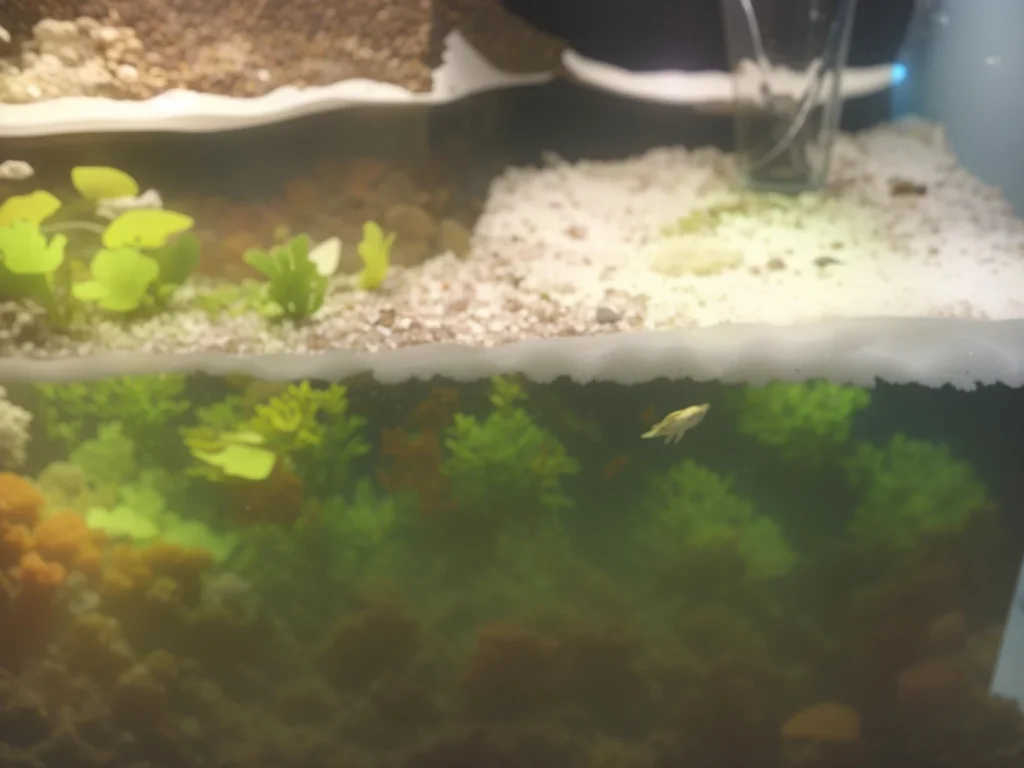
Foam in a turtle tank is usually a sign that something is off with the water quality. It often results from high levels of proteins, ammonia, and other organic waste materials in the tank. Foam may appear white and bubbly on the water’s surface, accumulating around filters and basking areas. It can make the water appear cloudy or murky underneath.
While some foaming is normal, especially after cleaning the tank, excessive or lasting foam indicates a problem. If left unchecked, foam can irritate your turtle’s eyes, skin, and lungs if they surface to breathe. It’s important to identify and address the root cause of the foam through proper tank maintenance and troubleshooting.
By understanding what triggers foam in turtle tanks, you can take the right steps to prevent and eliminate it. With some adjustments to filtration, water changes, and general tank hygiene, your turtle habitat looks crisp and clear again.
Causes of Foam in Turtle Tanks
There are several potential causes of problematic foam in indoor turtle tanks:
1. Ammonia Buildup
Ammonia is one of the most common culprits for foam in turtle tanks. As turtles urinate and defecate in their habitat, urea and proteins in the waste produce ammonia as they break down in the water.
Ammonia is toxic to turtles even at low levels. It can build quickly in an indoor tank, especially if it is too small, overcrowded, or lacks adequate filtration. Over time, accumulated ammonia is converted into nitrites and nitrates, creating a nutrient-rich environment for foam and algae blooms.
You’ll notice white frothy bubbles start to accumulate as ammonia increases. It may smell slightly like bleach or urine. Daily testing and frequent water changes are key to keeping ammonia at a safe level below 0.02 ppm.
2. Disinfectant Residues
Tap water contains trace amounts of chlorine and other disinfectants that can cause foaming when added to turtle tanks. As these chemicals dissipate, they release gases that form bubbles on the water’s surface.
Chlorinated water itself does not harm turtles when used properly. However, the residue can react with proteins and other organic materials to increase foaming. Using a water conditioner that removes chlorine and chloramines before adding new water can help reduce this effect.
3. Water Agitation
Vigorous agitation from tank equipment like filters and bubblers introduces air into the water, creating bubbles and foam. While some surface agitation is good for gas exchange and oxygenation, excessive splashing can become problematic.
As you rapidly refill or top off the tank, the violent churning of water also whips air into the mix, leaving behind a foamy mess. Fill slowly and keep equipment adjusted to minimize turbulence for a smoother surface.
4. Protein Buildup
Excess protein in turtle waste or uneaten food breaks down into amino acids and other compounds, reducing surface tension. This allows bubbles and foam to form more readily.
Overfeeding or feeding protein-rich foods like shrimp, fish, and worms can contribute to protein buildup. As waste accumulates, protein binds to any soaps, detergents or bubbles, causing more stable and lasting foam.
5. Use of Soaps and Detergents
Well-meaning turtle keepers sometimes use soaps and detergents to clean tank surfaces, décor, and equipment. However, any residue that remains can cause major foaming when refilled.
Even small amounts of soaps, degreasers, and detergents can cause the water’s surface tension to decrease dramatically, allowing foam and bubbles to accumulate. Only use aquarium-safe products free of soaps, dyes, and fragrances.
Solutions to Foam Problems
If your turtle tank seems to have a case of bubble mania, try these solutions to knock out the foam for good:
1. Filter Adjustments
In most cases, foam in turtle tanks points to a filtration issue. Filters are critical for removing solid and dissolved organic waste, controlling bacteria, and maintaining healthy water parameters.
- Use a high-quality external canister filter designed specifically for turtle tanks. Internal power filters are often ineffective on their own.
- Ensure the filter is properly sized for your tank’s volume and turtle size. Undersized filters allow waste to accumulate.
- Clean the mechanical filter media regularly to prevent clogging and keep water flowing properly.
- Maintain the biological filter media by only rinsing in tank water rather than replacing.
- Position equipment to minimize turbulence and surface agitation. Keep output low and angled down.
- Add activated carbon to help remove some dissolved organics contributing to foam.
- Add a protein skimmer to pull foam and proteins from the water column.
2. Water Treatment
Treating new water and tank water can help eliminate foaming triggers:
- Use water conditioner to remove chlorine/chloramines whenever adding new water.
- Add aquarium salt at recommended levels to help reduce surface tension.
- Consider adding filter media like Purigen or activated carbon to remove excess organics.
- Use clarifiers sparingly to clump suspended particles so the filter can catch them. Limit use to avoid harming beneficial bacteria.
- In severe cases, use an aquarium foam inhibitor according to package directions to temporarily control foam.
3. Regular Cleaning
Prevention is the best medicine when it comes to foam control. Staying on top of tank maintenance keeps buildup in check:
- Perform partial water changes of 25-50% weekly, or more often if heavily stocked. Use a gravel vacuum to remove solid waste.
- Scrub decorations, tank walls, and surfaces to prevent organic film buildup.
- Clean filter media via rinsing in tank water every 2-4 weeks.
- Check for and promptly remove uneaten food to limit waste accumulation.
- Avoid overfeeding, particularly protein-rich foods. Offer only what your turtle will finish at each meal.
- Check water parameters regularly and take steps to lower ammonia, nitrites, and nitrates if elevated.
- Use only aquarium-designated cleaning tools and algae scrubbers to avoid soap residues.
Frequently Asked Questions
Why is my turtle tank getting foamy right after a water change?
It’s normal to see temporary foaming after changing tank water, especially if you use a Python or sink siphon. The agitation whips air bubbles into the fresh water. Let the bubbles dissipate and the tank settle before doing anything further. Foam at water changes is only concerning if it does not fade after an hour or persists after subsequent changes.
Could an undersized or clogged turtle tank filter cause foaming?
Yes, absolutely. Filters that are too small or clogged quickly become inefficient at removing waste like ammonia and proteins that cause foaming. Follow the manufacturer’s guidelines for filter capacity and turtle size. Check and clean filter media regularly to maintain good flow. Upgrade if needed.
Why should I add new water slowly when refilling my turtle’s tank?
Adding water too quickly splashes a lot of air bubbles into the tank, leaving behind residual foam. By pouring slowly and ideally directing the flow down the tank walls, you can minimize turbulence and foaming. Take the time to add water gently rather than rushing.
Can I use detergent or soap to clean the turtle tank?
Never use household soaps, detergents, or cleaning chemicals in a turtle tank. The residue left behind, even just a small amount, can cause severe, lasting foaming issues. Only use aquarium-designated cleaners labeled safe for turtles and reptiles. Or simply scrub with water and elbow grease.
My turtle tank has a thick layer of white foam. What should I do?
Heavy foam like that indicates an underlying water quality issue, usually high ammonia or nitrates. Start by testing and changing at least half the tank water. Clean the filter and any decorations or surfaces. Consider adding ammonia-removing chemicals like Prime and checking all equipment like heaters and filters. Persistent heavy foam means the tank requires an overhaul to get back on track.
Additional Causes of Foam
While ammonia, chlorine, agitation, protein, and detergent residues are the most common causes of turtle tank foaming, a few other factors can also play a role:
Overcrowding
Too many turtles in a tank produces more waste in a concentrated area, rapidly deteriorating water quality. Their movements also stir up debris and dissolve more organics into the water. Overcrowded tanks tend to have increased foaming from high bioloads.
Provide at least 10 gallons per inch of shell length per turtle. For example, one 4-inch turtle needs at least a 40 gallon tank. Reduce stocking levels or upgrade to a larger tank if foam arises in an overcrowded habitat.
Incorrect Temperatures
If water temperature drops too low, viscosity increases and more bubbles are retained. Excessively high temperatures can also change water properties to encourage foaming.
Maintain proper water temperature using submersible heaters: 75-80°F for most aquatic species and 70-75°F for softshells. Monitor temperatures daily and adjust heat as needed.
Poor Diet
Diets high in protein, fat, or carbohydrates increase waste concentration in the tank and can lead to more foam. Feeding too much of any food boosts nutrients for foam-causing algae and bacteria.
Offer a balanced, varied diet including commercial turtle pellets, greens, vegetables, and occasional small feeder fish or shrimp. Only feed an amount your turtle will fully eat at each meal 2-3 times per week.
Dead Zones
Areas of the tank with poor water movement can collect debris. As organics settle and rot in these “dead zones”, they release more waste to fuel foaming.
Proper tank circulation and filtration helps prevent buildup of organics. Move decorations and direct filter output to areas prone to collecting debris.
Algae Growth
Like protein and bacteria, rapid algae growth feeds on tank nutrients and decreases water quality. Decaying algae release more organics, perpetuating foam.
Control algae by reducing light exposure to 8-10 hours daily, removing decaying plant matter, manually scrubbing the tank, and performing regular partial water changes.
Additional Foam Remedies
If basic steps aren’t resolving persistent foam, consider trying these additional solutions:
Ozone or UV Sterilization
Ozone generators and UV sterilizers help oxidize organics and kill algae and bacteria. They can reduce some foaming compounds when used properly. However, they should only be used temporarily and according to directions.
FOAM FRACTIONATORS
Also called protein skimmers, foam fractionators remove waste by skimming foam from the water surface. The foam is then collected in a cup for disposal. Helpful for marine tanks but less common for freshwater.
BioPellet Reactor
The BioPellet reactor improves breakdown of solid wastes by fluidizing biomedia. The increased oxygen speeds up biofiltration of organics contributing to foam.
PhosBan Reactor
The PhosBan reactor helps remove phosphate and silicate from the water column. Since phosphates can fuel algae growth, reducing levels may help control foaming from excessive algae.
Renewable Carbon Filter Media
Activated carbon media helps remove some dissolved organics. Renewable varieties like PolyFilter continuously release small polymer particles to grab organics and foam until removed.
Magnetic Water Conditioner
Though not scientifically proven, some use magnetic water conditioners to control foam. The magnet supposedly helps neutralize calcium compounds and alter water viscosity. Further study is needed.
When to Take Further Action
In most cases, foam can be corrected through diligent tank maintenance and filtration optimization. But if you’ve tried all the standard solutions and are still seeing excessive bubbling, it may be time to take more drastic action:
Complete Tear Down
For severe cases with heavy, lasting foam, a complete tank teardown, cleaning and disinfection may be required. Remove turtles and all decor during the process. Scrub away all visible biofilms and deposits before thoroughly rinsing and re-establishing the tank.
Medications
Certain anti-parasitic medications contain chemicals that can reduce foaming surfactants. Methylene blue is one example. ONLY use medications if a known parasite issue is present and not just for foam control.
Professional Cleaning
Some reptile specialty shops offer full-service tank cleanings and maintenance. They use professional-grade tools and scrubbing equipment to fully de-gunk turtle habitats. The deep clean provides a fresh start if you’ve been unable to resolve foaming independently.
Upgrade Tank Size
For persistent issues with water quality and foaming, a too-small tank may be the root cause. Even with diligent maintenance, overstocked setups are difficult to balance and keep clean. Investing in a larger tank or pond may be needed.
Preventing Foam Reoccurrences
Once you’ve eliminated excessive foam, be proactive with tank maintenance to prevent it from recurring:
Quarantine New Turtles
New turtles should be quarantined for 2-3 months before adding them to your established tank. Quarantining allows you to monitor the new turtle for illness and prevents introducing waste into the existing habitat.
Test Water Regularly
Check ammonia, nitrite, nitrate, pH, and temperature at least weekly. More frequent testing lets you catch rising pollution levels before foam can develop again.
Clean Tank Surfaces Often
Don’t allow organic films to build up on tank walls, decorations, and equipment. Algae pads, aquarium scrapers, and scrub brushes can be used to maintain clean surfaces.
Control Feedings
Overfeeding makes foam much more likely by adding excess waste. Offer only what your turtles will eat in a single sitting, 2-3 times per week. Remove uneaten food promptly.
Use Quality Equipment
Invest in a reliable filter, heater, and test kits to properly maintain water parameters. Undersized or faulty equipment can quickly lead to declining conditions.
Establish a Routine
Consistency is key for ongoing tank health. Maintain a schedule of weekly partial water changes, filter cleanings every 2-4 weeks, and tank scrubbing every 4-8 weeks as part of a solid turtle care routine.
Conclusion
While some foaming is inevitable in turtle tanks, excessive bubbles signal a problem needing attention. Your turtle habitat will look crystal clear again with a commitment to tank hygiene and filtration maintenance. Test water parameters often, don’t overfeed, use aquarium-safe products only, and adjust equipment to prevent turbulence. Your pet turtle will thank you for keeping their home happy and healthy!